People are learning Blender FAST!
Welcome to Blender to Printer. Where we focus on teaching 3d modeling specifically for 3d printing.
3d Modeling and 3d Modeling FOR 3d Printing are different
When you're modeling for 3d printing, the most important thing you need to keep in mind, is whether that design you're creating is going to print or not.
Here at Blender to Printer, we focus on just that. We teach you how to 3d model SPECIFICALLY for 3d printing. Trust me, that donut isn't going to print....
We focus on 2 things, 3d modeling and 3d printing.
Blender is powerful. Maybe too powerful. It can be overwhelming. There are so many things you can do with Blender, but you dont really need to know all of them to be able to design your creation. You just need to know the 4 basic commands, and that’s enough that you can make anything you want with it.
3d design is hard enough, but 3d design for 3d printing is a bit different than normal 3d design such as it needs to be all one continuous mesh or it wont print. It’s not harder, it’s actually a lot easier than you think. Once you get the hang of it, you’ll be able to design and 3d print anything you want.
In 14 Days you’ll go from zero experience with Blender, to being able to design anything you want and bring it to life with your 3d printer.
THE BEST STEP BY STEP
Sterling Hayden
@syfyhobbyguy
Off and running
"I got this last weekend, and I just have to say I have been working on my own helmet for a couple days now. I am loving this so much. Nikko you are very informative and after learning the basics like you teach in the course I am off and running. thank you so much for this opportunity."
It's a great skill
This course is pretty awesome. Just a few classes and it opens you up to different ideas you can come up with. Granted I dont sell any of these yet, it's a great skill to add to your belt.
-Jon Liao
Here's What You'll be Learning
- Day 1: Blender Basics (8:09)
- Day 1: Blender Set Up (1:16)
- Day 2: Primitive Study (13:29)
- Day 2: The 4 Moves You Need to Model (8:44)
- Day 3: Topology In a Nutshell (3:29)
- Day 4: Hi Poly Vs Low Poly Editing (5:32)
- Day 5: Subdivision Surface Breakdown (8:01)
- Day 6: Modeling for 3d Printing and Combining Objects To Make It One Mesh (11:03)
- Day 7: Coloring Your Models(Updated) (3:58)
- Day 8: 3d Modeling Basics- Chair (8:26)
- Day 9: Modeling Exercise: Basic Low Poly Car (14:11)
- Day 10: Modeling Exercise: Basic Vase and Intro to Sculpting (12:55)
- Day 11: Modeling Exercise: Basic Basic Flag (10:32)
- Day 12: Modeling Exercise: Basic Basic Flower (12:44)
- Day 13: Snowman Part 1 (16:24)
- Day 14: Snowman part 2 (19:34)
- BONUS: Mando Helmet Tutorial (11:48)
- BONUS: Mando Helmet Editing Part 1- Cleaning the Helmet (21:56)
- BONUS: Mando Helmet Editing Tutorial Part 2- Ear Device (19:39)
- BONUS: Mando Helmet Editing Tutorial Part 3- Rear Vents and Forehead Details (20:58)
- Intro to Sculpting Part 1 (9:27)
- Intro to Scupting Part 2 (5:10)
- Base Mesh Workflow Using Shapes (7:05)
- Base Mesh Workflow Mesh Modeling (5:46)
- Base Mesh Workflow Using the Skin Modifier (4:59)
- Foundations of Sculpting (17:30)
- How To Create Flexi toys (7:26)
- How to Flexi- Ball Joint (8:15)
- How to Make Custom Lithos (9:36)
- Basic STL Editing (8:57)
- TinkerCAD in Blender?! (12:22)
- Easy Character Creation With Stick Figures (14:39)
- Easy Ornaments (10:50)
- How to Draw Ornaments onto Models (16:00)
- Lightsaber 1 (11:44)
- Lightsaber 2 (13:26)
- Lightsaber 3 (12:53)
- Lightsaber 4 (2:34)
- How do Create Custom Text (14:53)
BONUS!
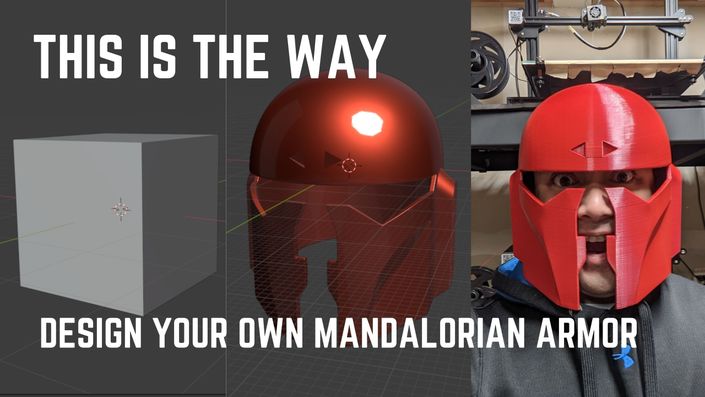
As part of this course, I'm also including the Helmet section of the Design Your Own Mandalorian Course,

Check Out These Other Courses
After you've graduated from the beginner's course, you should try these other ones!


